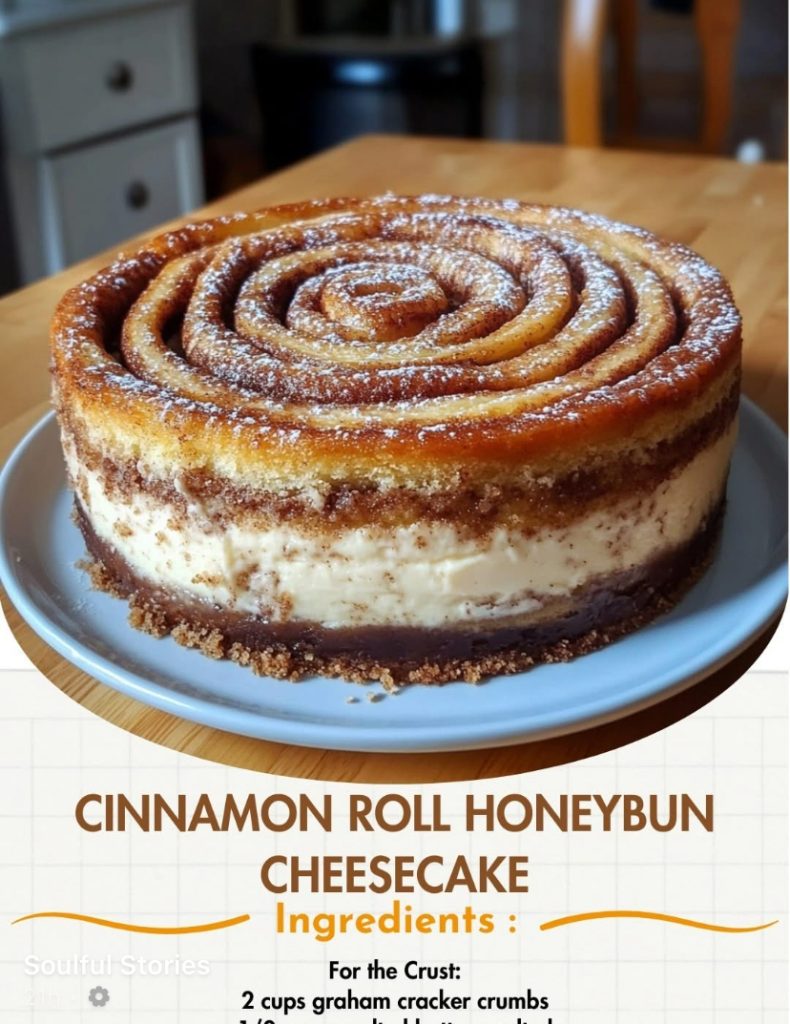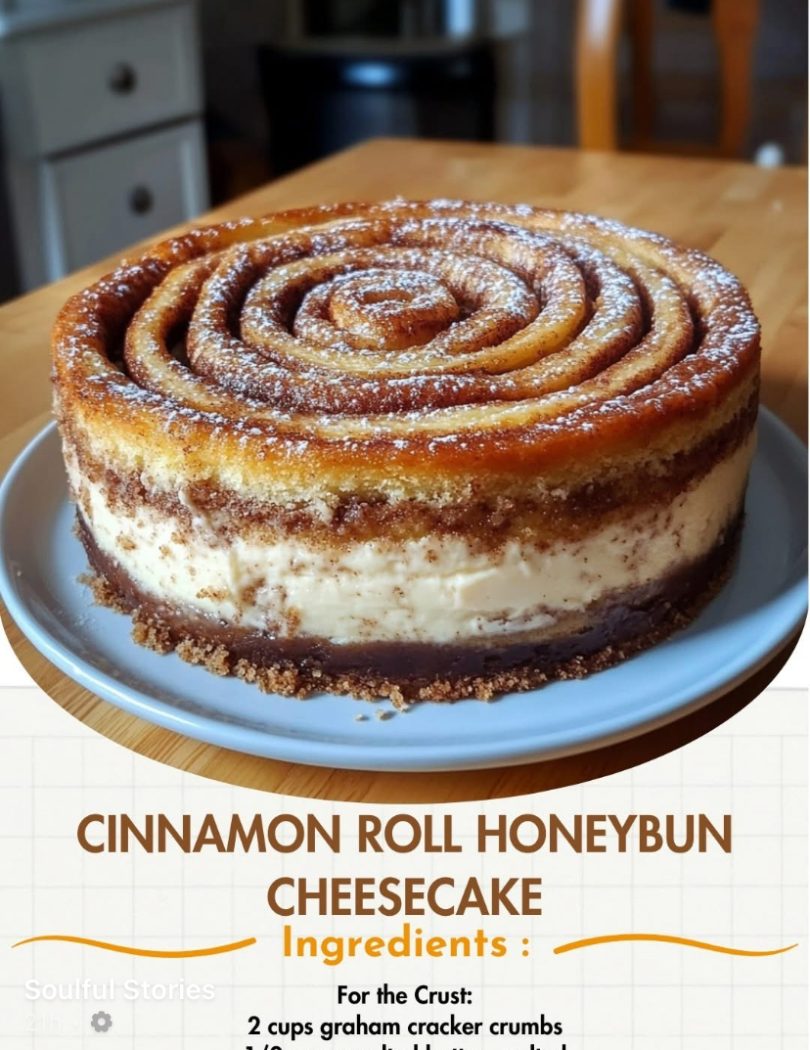
This dessert is a layered masterpiece: a cinnamon roll-inspired crust, a creamy cheesecake filling, and a luscious honey glaze to tie it all together. Each bite is a swirl of flavor and texture that’s as beautiful as it is delicious.
Ingredients
For the Crust
- 2 cups (200g) graham cracker crumbs (or crushed cinnamon graham crackers)
- ½ cup (115g) unsalted butter, melted
- 2 tablespoons granulated sugar
- 1 teaspoon ground cinnamon
For the Cheesecake Filling
- 24 oz (680g) cream cheese, softened
- 1 cup (200g) granulated sugar
- 1 teaspoon vanilla extract
- 3 large eggs
- ½ cup (120g) sour cream or Greek yogurt
- 2 teaspoons ground cinnamon
- ½ teaspoon ground nutmeg
For the Honeybun Glaze
- ½ cup (120ml) honey
- 2 tablespoons butter, melted
- ¼ teaspoon vanilla extract
- 1 teaspoon ground cinnamon
Optional Toppings
- Drizzle of cream cheese icing
- Powdered sugar
- Crushed honey buns or cinnamon rolls
Instructions
Step 1: Prepare the Crust
- Preheat your oven to 325°F (160°C). Grease a 9-inch springform pan and line the bottom with parchment paper.
- In a medium bowl, combine the graham cracker crumbs, melted butter, sugar, and cinnamon. Mix until the texture resembles wet sand.
- Press the mixture firmly into the bottom of the springform pan to form an even crust.
- Bake the crust for 8–10 minutes, then set it aside to cool.
Step 2: Make the Cheesecake Filling
- In a large mixing bowl, beat the softened cream cheese with an electric mixer on medium speed until smooth.
- Add the sugar and continue mixing until fully incorporated.
- Beat in the eggs one at a time, followed by the vanilla extract, sour cream, cinnamon, and nutmeg. Mix until the batter is smooth, but avoid overmixing.
- Pour the filling over the cooled crust, spreading it evenly.
Step 3: Bake the Cheesecake
- Wrap the bottom of the springform pan in aluminum foil to prevent leaks. Place the pan in a larger baking dish and fill the dish with about 1 inch of hot water (creating a water bath).
- Bake the cheesecake in the preheated oven for 55–65 minutes, or until the edges are set and the center is slightly jiggly.
- Turn off the oven and let the cheesecake cool inside with the door slightly ajar for 1 hour. This helps prevent cracks.
Step 4: Prepare the Honeybun Glaze
- In a small saucepan over low heat, combine the honey, melted butter, vanilla extract, and cinnamon. Stir until smooth and warmed through.
- Let the glaze cool slightly before pouring over the cheesecake.
Step 5: Assemble and Chill
- Once the cheesecake has cooled to room temperature, pour the honeybun glaze over the top, spreading it evenly.
- Refrigerate the cheesecake for at least 4 hours or overnight to set completely.
Step 6: Garnish and Serve
- Before serving, drizzle with cream cheese icing, sprinkle with powdered sugar, or top with crushed honey buns or cinnamon rolls for extra flair.
- Slice and enjoy this decadent dessert chilled.
Pro Tips
- Room Temperature Ingredients: Ensure all cheesecake ingredients are at room temperature for a smooth, lump-free filling.
- Flavor Boost: Add a splash of maple syrup or caramel to the honeybun glaze for an extra layer of flavor.
- Storage: Store leftovers in the refrigerator for up to 5 days, or freeze individual slices for up to 1 month.
Why You’ll Love This Recipe
- Layers of Flavor: The cinnamon-spiced crust, creamy filling, and honey glaze are a match made in dessert heaven.
- Decadent and Unique: A twist on classic cheesecake that’s perfect for holidays, birthdays, or any celebration.
- Customizable: Adjust the sweetness and spice to suit your taste, or try it with a drizzle of caramel or chocolate.
This Cinnamon Roll Honeybun Cheesecake is a dessert you’ll return to time and time again. It’s indulgent, flavorful, and sure to impress anyone lucky enough to try it. Let me know if you’d like tips for variations or additional garnishes!


