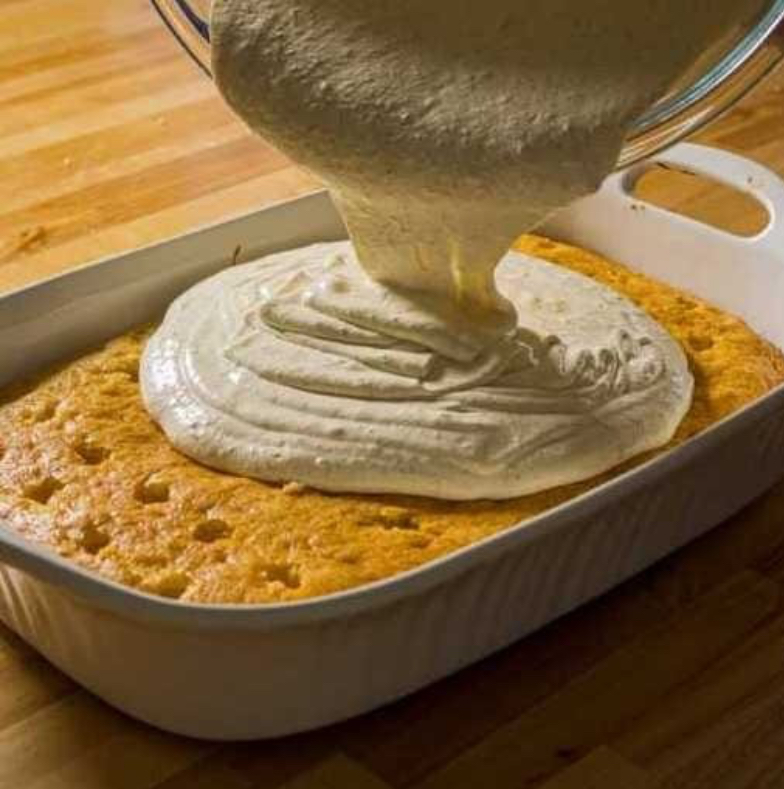
Poke cakes are one of those desserts that have stood the test of time, and for a good reason! They’re simple to make, endlessly customizable, and packed with flavor. Whether for birthdays, potlucks, or Sunday dinners, poke cakes were always a showstopper at grandma’s house.
This classic dessert gets its name from the process of “poking” holes in the cake and filling them with a sweet, flavorful liquid, resulting in a cake that’s moist, vibrant, and full of surprises with every bite.
Let’s dive into the poke cake recipe that grandma used to make, and explore how you can whip up this crowd-pleaser for your family and friends.
Ingredients for Classic Poke Cake
For the Cake:
- 1 box of white or yellow cake mix (plus ingredients required for the mix: eggs, oil, water)
- 1 (3 oz) package of flavored gelatin (such as strawberry or raspberry)
- 1 cup boiling water
- ½ cup cold water
For the Topping:
- 1 container (8 oz) of whipped topping (like Cool Whip), thawed
- Fresh fruit for garnish (optional, strawberries or raspberries work best)
INSTRUCTIONS:
Step-by-Step Instructions: How to Make Grandma’s Classic Poke Cake
Step 1: Prepare and Bake the Cake
Start by preheating your oven according to the directions on the boxed cake mix (typically 350°F or 175°C). In a large mixing bowl, prepare the cake batter following the instructions on the package, using the eggs, oil, and water.
Pour the batter into a greased 9×13-inch baking dish and bake until a toothpick inserted into the center comes out clean, about 25-30 minutes. Once the cake is done, remove it from the oven and allow it to cool slightly.
Step 2: Poke the Cake
Once the cake has cooled for about 10-15 minutes, it’s time to poke the holes! Using the handle of a wooden spoon or a straw, poke holes evenly across the surface of the cake. Be sure to poke all the way through to the bottom to allow the filling to seep into the entire cake. Make the holes about an inch apart for even flavor distribution.
Step 3: Prepare the Gelatin Filling
In a small bowl, dissolve the gelatin powder in 1 cup of boiling water. Stir until fully dissolved, then add ½ cup of cold water to cool the mixture slightly. Pour the gelatin mixture evenly over the cake, ensuring it fills the holes you’ve created.
Step 4: Add the Whipped Topping
Once the cake is cooled and the gelatin has set, spread a generous layer of whipped topping over the entire surface of the cake. This creamy topping adds a light, airy texture that complements the dense, flavorful cake underneath.
Step 5: Garnish and Chill
For an extra touch of flavor and visual appeal, garnish the top of the cake with fresh fruit, such as sliced strawberries, raspberries, or any fruit that complements your gelatin flavor. After garnishing, refrigerate the cake for at least 2 hours to allow the flavors to meld and the cake to firm up.
Tips for the Best Poke Cake
- Let the Cake Cool Slightly Before Poking: If you poke the cake while it’s too hot, the gelatin can run out too quickly and not set properly. Letting the cake cool slightly will help the filling soak in evenly.
- Use a Deep Dish: A 9×13-inch baking dish is ideal for poke cake, as it allows for plenty of room for the cake to rise and the gelatin to settle into the holes.
- Be Generous with the Whipped Topping: The whipped topping adds a light, creamy contrast to the sweet, fruity cake. Don’t skimp on it—cover the cake completely for the best texture.
- Refrigerate Before Serving: Chilling the cake is key to allowing the flavors to meld together. It also firms up the gelatin, making for a better texture when serving.


